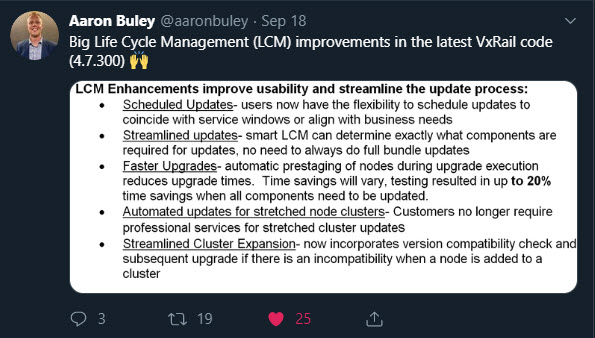
New LCM Changes for VxRail in 4.7.300.
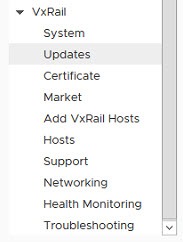
There is now a new Updates Tab for VxRail LCM (Life Cycle Management). I gave this feedback way back when the first HTML5 plugin for VxRail came out. The link to check for updates was tiny and easily missed hidden away in the System tab. VxRail LCM updates are a huge differentiation to any other HCI competitor since it includes the entire stack in a single bundle file; Hardware, hyper-visor and software on top! I wrote previously about the VxRail LCM process and why it matters to HCI solutions here.
Updates Tab embedded in H5 client
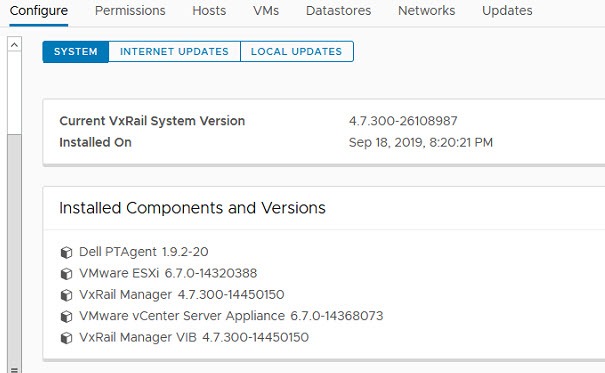
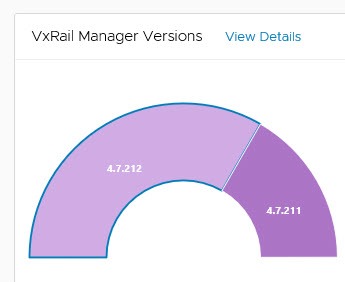
The update tab gives you quick access to view the current version of ESX, vCenter and the VxRail Manager itself. The tab for Internet Upgrade is here, where you can automatically pull the latest bundle. VxRail Manager will check for VxRail LCM bundles and alert you when its available.
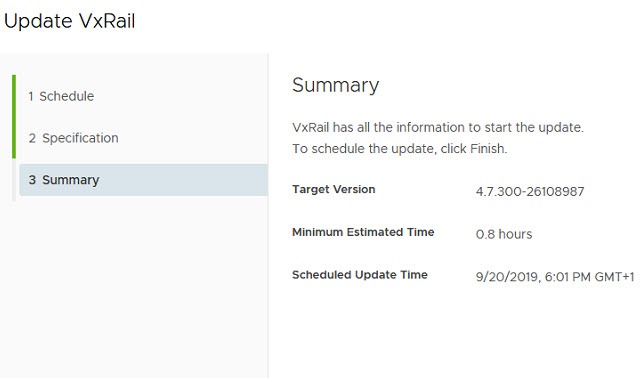
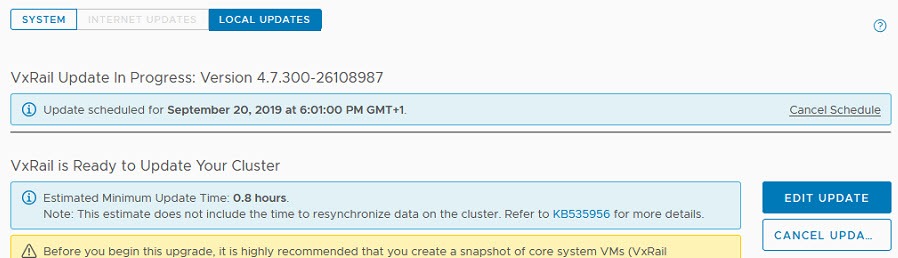
Schedule updates and find out how long they will take.
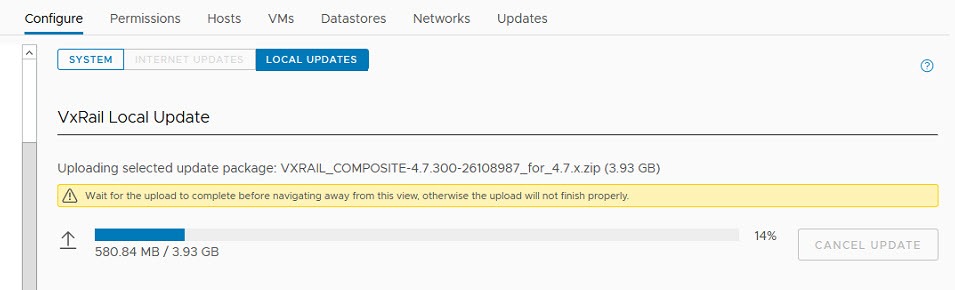
You do not have to be online to update the cluster, you may be required to run the cluster as a dark site and manually apply updates in the Local Updates tab. This is also a great way to control which bundle you want to apply rather than take the most recent version. Some customers prefer to plan updates in a more controlled manner, and stay a version or two behind.
it is now possible to schedule an update to run in future right from the GUI interface. This means you have time to plan an update to happen out of hours and you dont have to be there to kick it off. Customers were also asking for a way to estimate how long a bundle update would take. This is built in now as well showing Minimum Estimated Time.
What else changed in the VxRail Plugin?
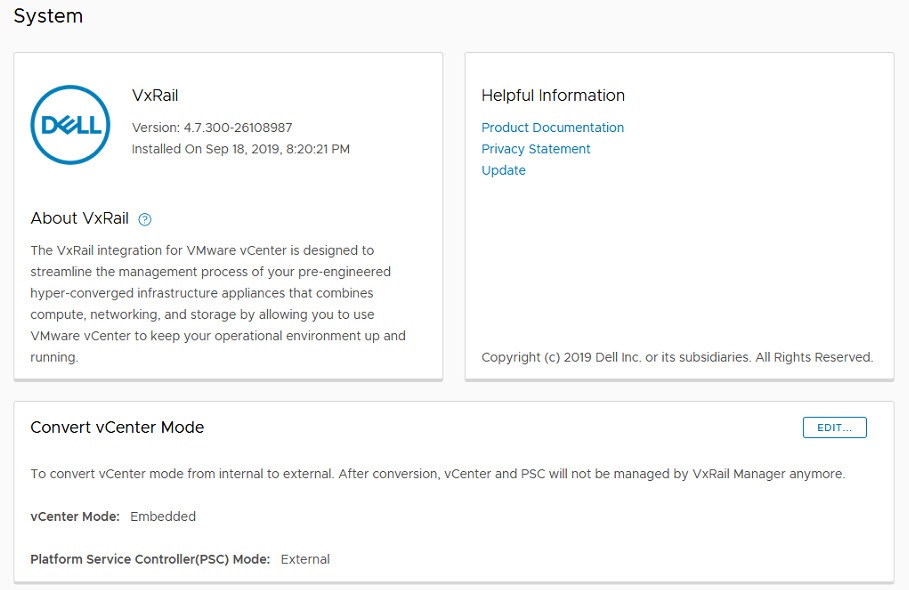
Convert vCenter Mode in GUI form…
The System Tab now has an option to “Convert vCenter mode”. There was a Script available to externalize an embedded vCenter running in VxRail already, but now its built in the GUI. This is super useful for example when customer wants to convert the VC and PSC and connect multiple VxRails to a mgmt cluster. This aligns the deployment with the VVD automatically allowing them to stay fully compliant.
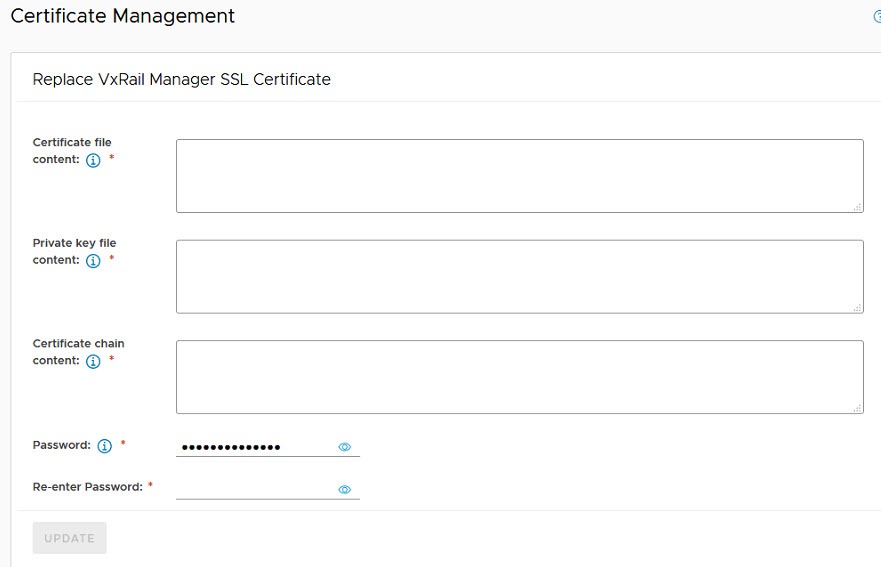
Simple SSL Certificate Management
There is a new SSL certificate tab in the VxRail plugin. This allows you to easily replace the VxRail Manager SSL Certificate.
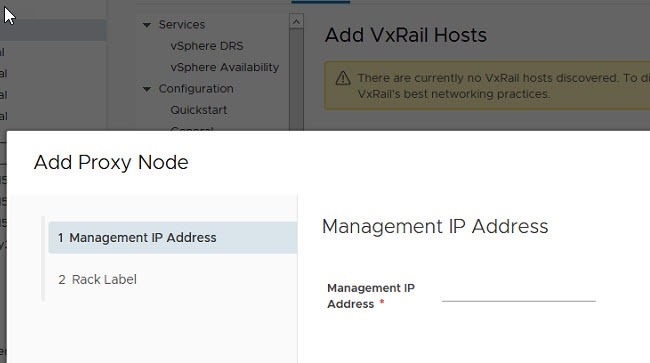
Multi-Rack discovery using a proxy node.
There is a feature in VxRail hosts tab to expand an existing cluster to another rack with new unassigned VxRail nodes. The new rack will have its own TOR switches and may be seperated by a different VLAN to the existing cluster.
Its a simple task to declare one of the unassigned nodes to act as a proxy node using this CMD:
esxcli network ip interface ipv4 set -i vmk2 -I <Management IP Address> -N <subnet mask> -t staticUse the GUI as below to declare this new proxy at the cluster. The proxy node will transmit details of all unassigned nodes in the 2nd rack. Proceed to expand cluster by adding these new nodes as before.
ACE gets top billing now.
If you don’t know what ACE is all about yet, then pop over to this blog i wrote earlier explaining all about it. ACE is getting new updates every couple weeks now (its running on the Pivotal engine so you know its going to be adding new features fast! There is a link to the ACE FAQ in the Support Tab so that customers can quickly get connected and up and running. ACE is still free for customers.

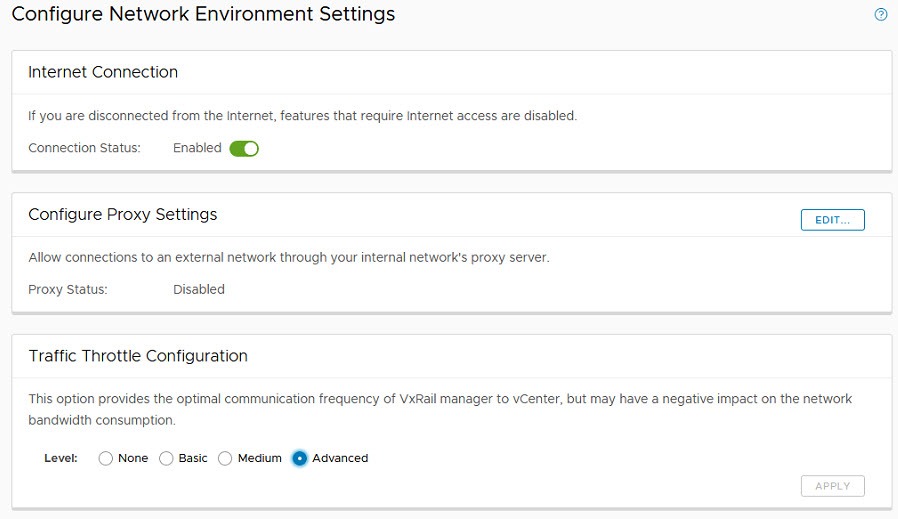
Traffic throttle between VxRail and vCenter
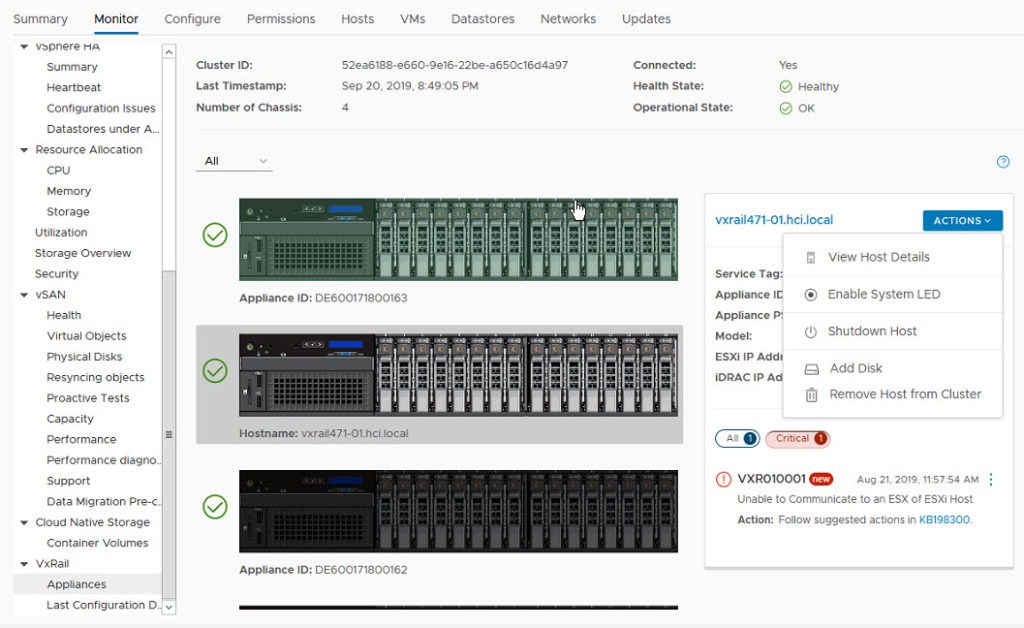
Physical View of appliances now in H5!
No longer do we need to link and launch to access the Physical View of our VxRail appliance nodes. Everything is embedded in the HTML5 interface. My good buddy Jeremy Merrill wrote up an excellent blog already detailing this why not check it out.