Step 1: Enable SmartFabric Services on the ToR Switch
Step 2: Deploy VxRail Cluster incl. ToR with VxRail Manager
Step 3: Deploy the SmartFabric OMNI plugin in VMware vSphere
EXTRA STEP Added Feb. 2020. See Below in yellow.
Next Blog : Step 4: Virtualization engineer controls Day 2 Ops for the Full Stack
Installing the SmartFabric OMNI plugin
At this point we have already run the first two steps to get SmartFabric installed, our Switches have SmartFabric services enabled and the VxRail Manager Gui deployment has automatically configured the switch and disabled the CLI. Now we will add the Open Manage Network Integration or SmartFabric OMNI plugin to vSphere, giving the virtualization engineer full visibility and control of the dedicated HCI switch fabric.
Download the OMNI plugin VM
We begin by deploying the OMNI VM ova, which is available from VMware Solution Exchange here. It seems to bounce you now to the Dell Support site where you can get the latest version here. As of June 2019 the latest version is 1.1.18.
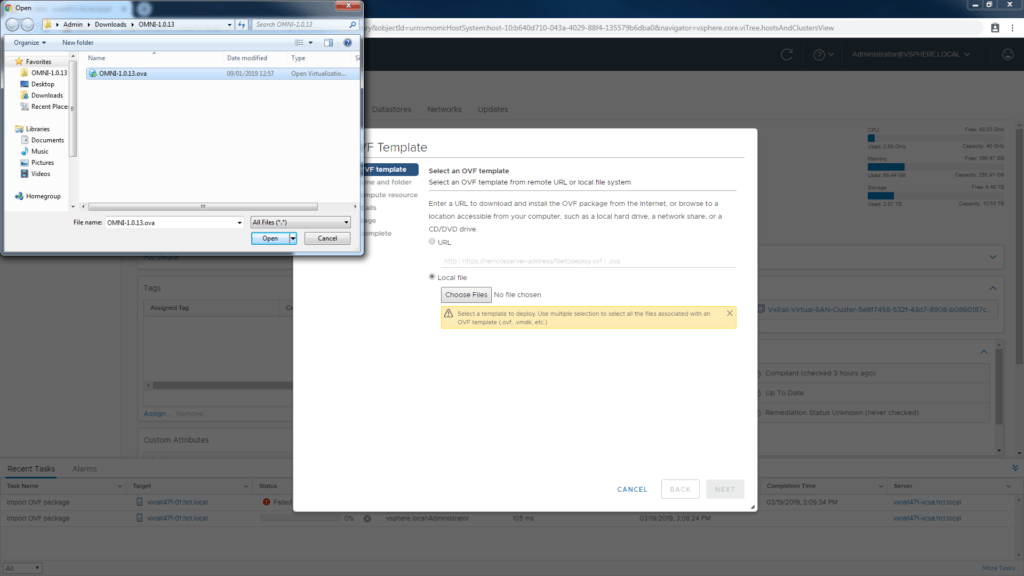
Deploy the OVA
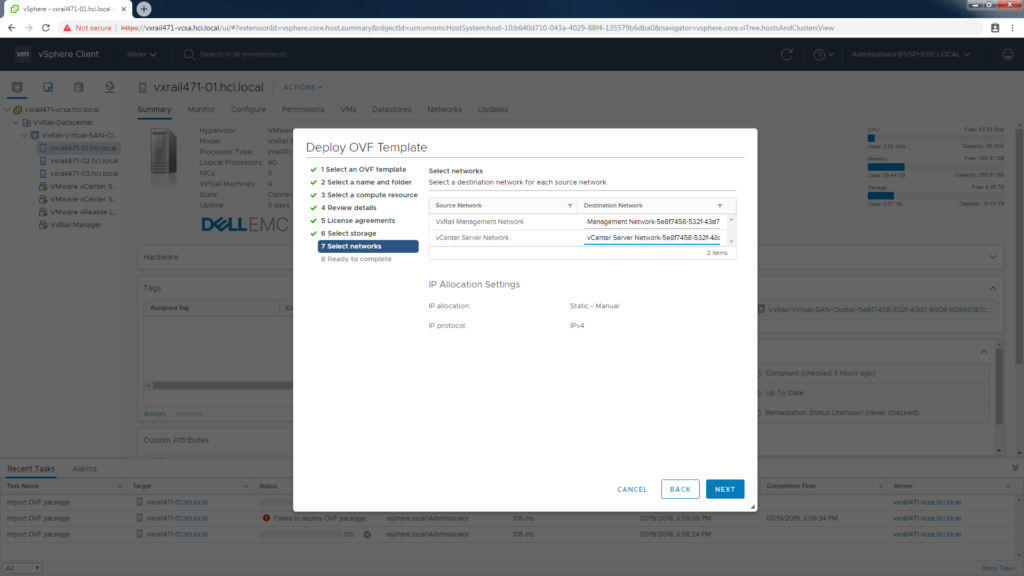
These steps are straightforward. Isn’t great that we can do the OVA deployment thru the HTML5 interface? Be sure to match up the source and destination networks correctly at Step 7 in the process. Later on we will configure an ipv4 address on vCenter network and enable ipv6 on the MGMT network.
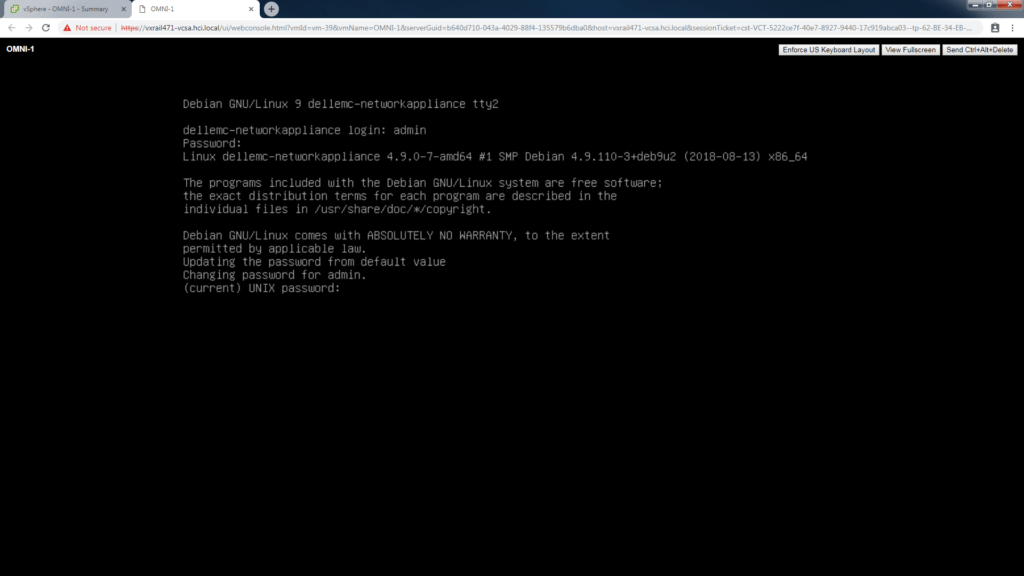
Power on the VM and connect to a console on the OMNI vm. You need to establish a password here for the admin user. The default username and default password is setup as admin / admin.
Configure the OMNI appliance
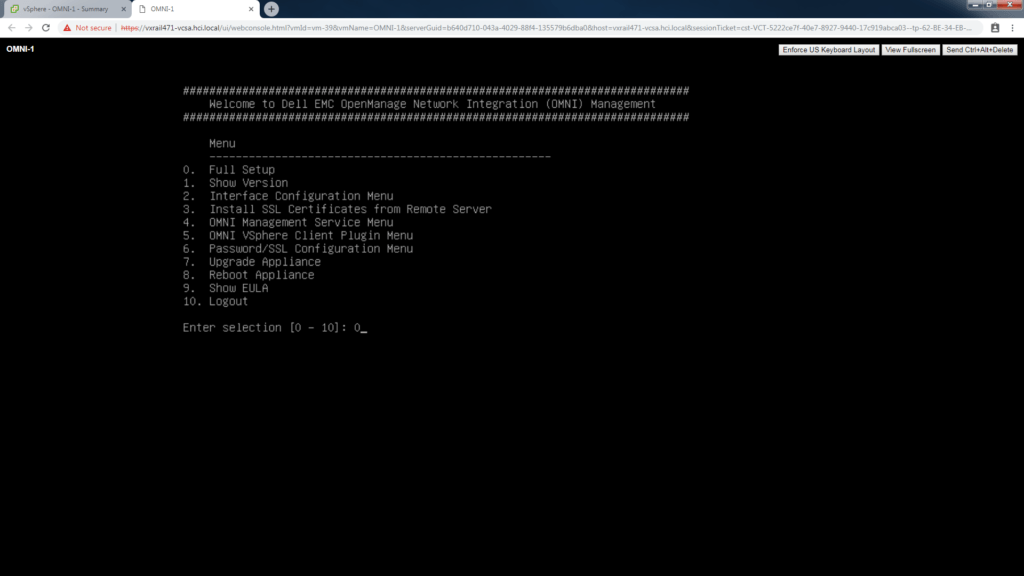
Since this is a first run deployment, we are going to select option “0. Full Setup” at the Menu. As you can see you can re-run and do other admin tasks later if required from this interface.
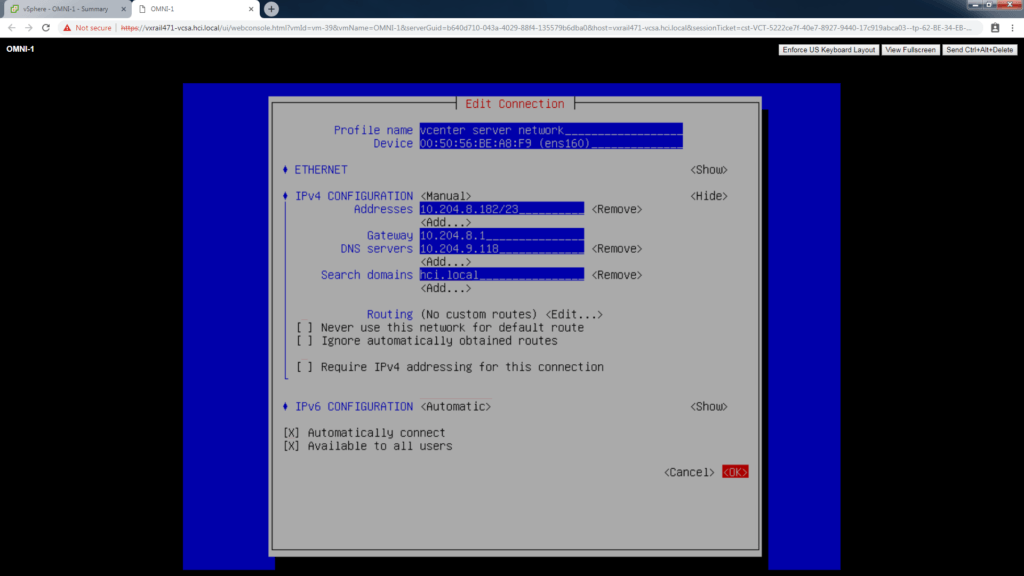
Before we active the first connection, we will setup the Profile name “vCenter Server Network” and assign a valid ipv4 address for the OMNI VM here.
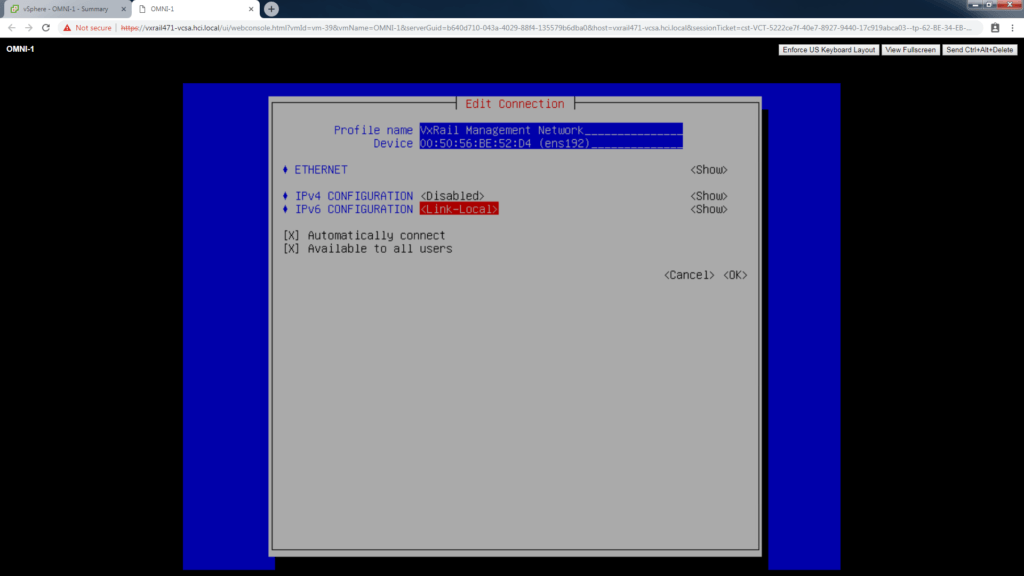
The second connection is for ipv6 discovery on the VxRail Management network, no ipv4 address needed here, set to disabled.
Set IPv6 Config to “Link-Local”.
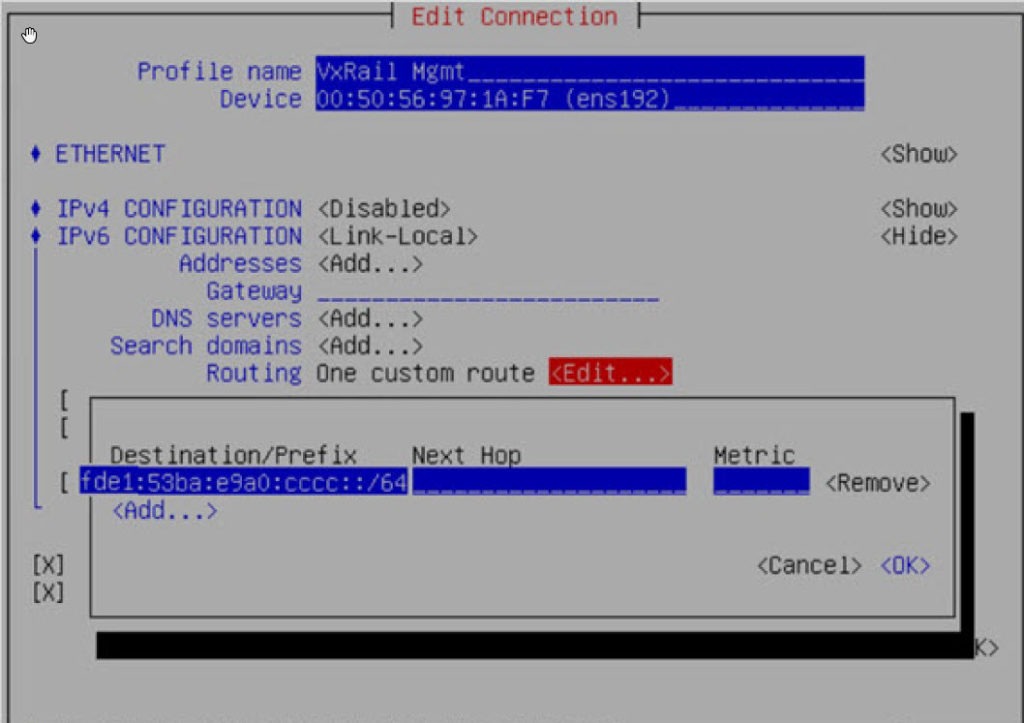
EXTRA STEP Added Feb. 2020.
Navigate to Routing and select Edit. Select Add.
For “Destination/Prefix” enter “fde1:53ba:e9a0:cccc::/64”.
Leave “Next Hop” empty, Leave”Metric” default of 0. Click OK
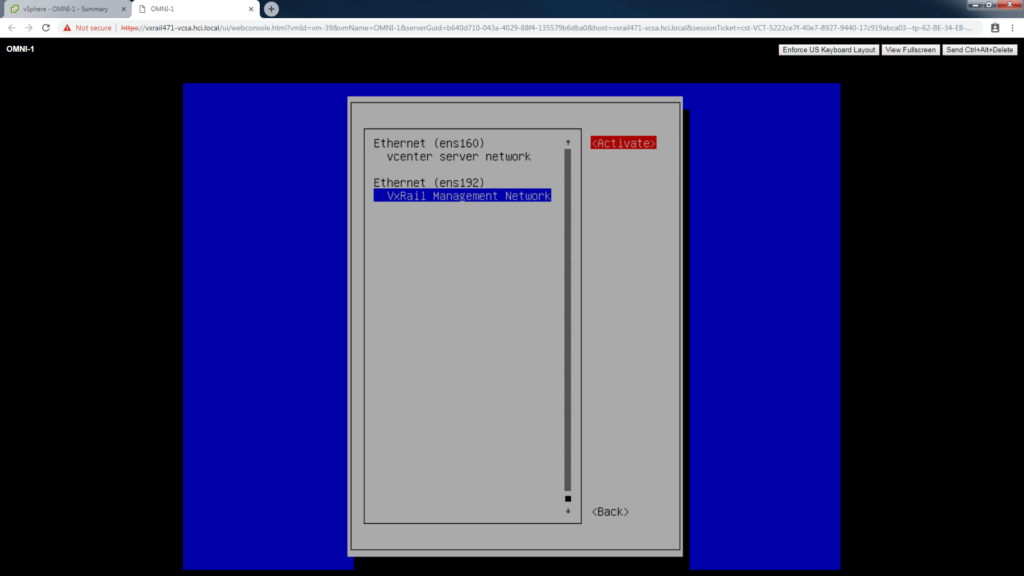
Be sure to activate both networks on the last screen.
You will be prompted at the CLI again for NTP, SSL Cert, the appliance ip address, FQDN for VCSA, VC Username and Password, and finally the OMNI ip for REST and REST username and password.

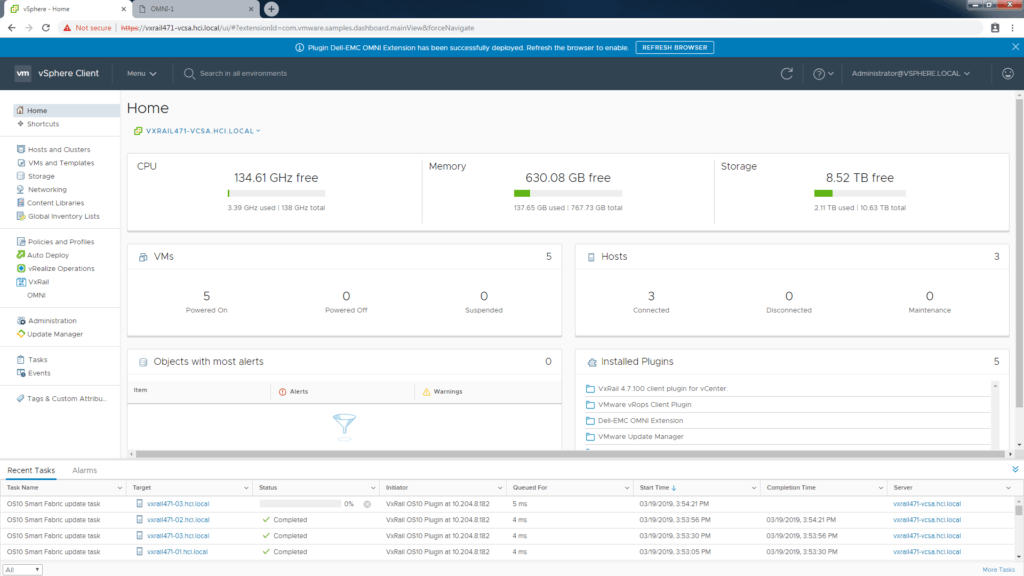
Log in and out of vSphere and the OMNI plugin will appear.