I have been interested in the evolution of software defined solutions for the last few years especially anything that makes it easier for customers to quickly deploy hardware, hypervisor, storage, and virtualization. Post Dell Technologies merger I was quick to raise my hand and volunteer to learn about the VxRail appliance. It makes sense to me to have an appliance form factor for the Data Center – where the engineering , testing and validation effort is done by the Dell EMC side, rather than by customers – this is about Time-to-Value for sure. The beauty of the VxRail appliance is the small starting 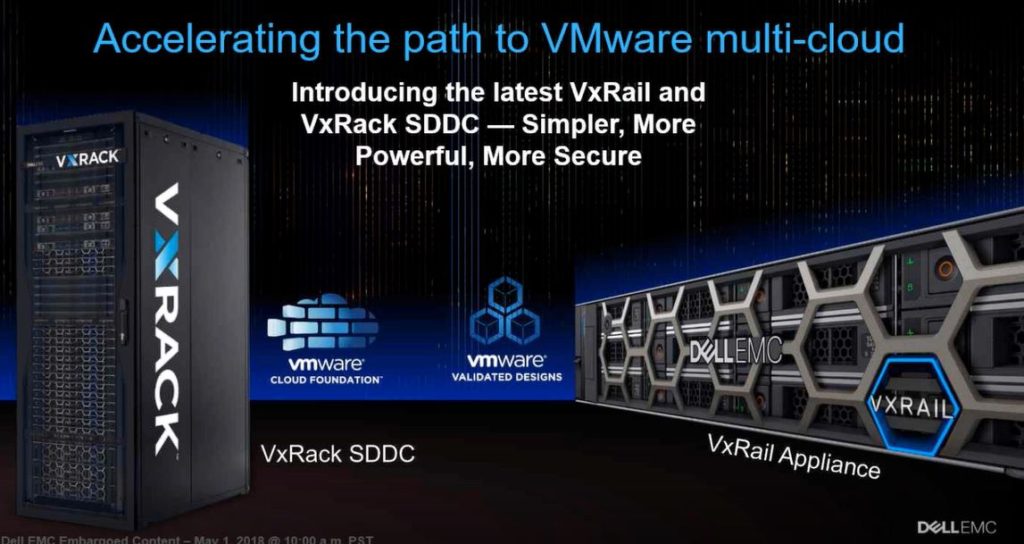 point, ability to scale and the BYONetwork flexibility. Although I wasn’t ever involved in the VxRack turnkey offerings from EMC pre-merger, this also interested me for larger customers who were interested in rack-scale solutions. I was always curious how Dell EMC would evolve these two use cases aimed at similar customers. Both are looking for a quicker outcome, simplified deployment, scale out and always key is how day 2 operations can be made simple, risk free and still happen fast – helping customers to keep up with the pace of change!
I decided to try and deploy the turnkey stack for the software defined data center; VxRack SDDC which is based on VMware technology. It has vSphere, vSAN and NSX built in with a simplified (automated) deployment and a validated and tested configuration with validated, tested bundles for LifeCycle management covering the entire (hardware & software) stack.
I have a small lab with different VxRail nodes from our portfolio. I had heard that as the VxRack solution evolved, they would eventually be supporting Cisco and Dell switches as well as VxRail nodes. This is a pretty exciting development – and makes sense from a Sales, Support, Services pint of view… one building block that is highly engineered by our Dell, VMware and EMC engineering teams to deliver an excellent turnkey experience for our customers. Talk about hitting the ground running and not needing to reinvent the wheel. VxRail has been hugely successful for customers and now this would be the building block for rack scale.
I got a chance in my lab to deploy VxRack using VxRail nodes – and I wanted to capture my notes and experience. The first thing I should caveat is that this not a DIY solution. VxRack is fully engineered in factory. So my notes are more about my experience, not a guide to follow! In order to get the latest code and a step by step deployment procedure for a VxRack install, only certified services teams, partners and employees have access to download from the support portal. Each new version has a very detailed step by step guide so that there are no snowflakes. Since I was using my lab hardware I need to first check that the hardware I used had the correct Bios, Firmware and software versions to meet the minimum supported standard. I cheated a little here if I’m honest. I used VxRail nodes that were imaged with the latest version of software. I figured that way I didn’t need to manually update each node – I could use the proven VxRail engineering method to automate the update. I was right and this saved me a lot of time at the start. The only manual task I needed was to assign iDRAC ip addresses that match the guides OOB deployment network.
So now I had the nodes ready (I used 8 E series VxRail nodes). I needed to configure the networking layer. I had a Dell S3048 for the Management layer and a pair of Cisco 9372s for TOR. I needed to ensure the OS on these matched the guidelines, but that was easy to upgrade. Once I had that ready I needed to follow the wiring diagram. This was pretty straightforward and yet the only place where I made a simple mistake. Double and triple check your cables is my advice, especially if you are dyslexic when it comes to reading port labels. Once the cabling is in place, you can wipe the TOR switch config and put the Dell MGMT switch in ONIE mode. This allows the automated imaging process to image the switch layer as the first task of the deployment. The deployment network is actually setup on a private network on a simple flat switch, here you will connect the laptop that hosts the imaging appliance, port 48 on the S3048 and the management port of the S3048.
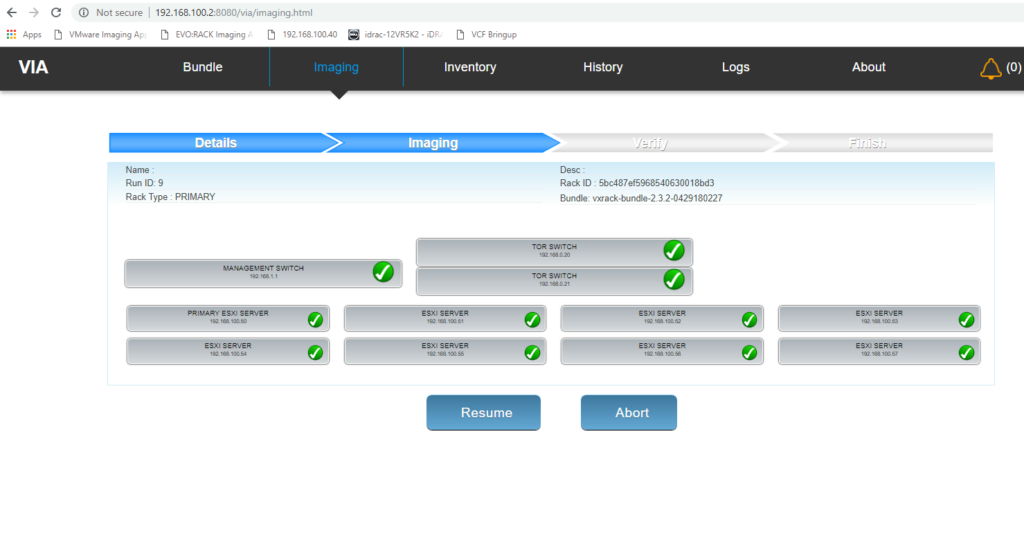
Using VMware workstation and the Dell EMC VxRack imaging appliance OVA that I downloaded, it’s very straightforward to load up the latest VxRack bundle, and specify the number of nodes you plan to image. The laptop that you use should also have a few tools like putty, Winscp and some Dell software like racadm and OpenManage BMC Utilities. This is used to run some health check scripts and to automate the PXE boot process. I kicked off the imaging from the appliance and it started by first imaging the S3048 management switch. A short time later it built the two TOR switches and then signaled it was ready to image the first node. Using a racadm script I put the nodes in PXE mode and powered them on one at a time, about 100 seconds apart. The VxRack imaging appliance provided the PXE server environment, recognized the nodes and began imaging them one by one. Once again I can’t highlight enough that the wiring is critical here, every port should match exactly according to the wiring diagram as the TOR and Management switch is strictly defined. When you power on the first node it becomes the first management node and the imaging appliance expects the iDRAC and Nics to match as it records the MAC addresses. I had a few cables that I had reused at this stage that really I should have replaced, and once I had done that everything went perfectly smoothly. Next up is the Bring-Up phase of the deployment. The first node that is imaged now has the SDDC manager VM and a Utility VM deployed, and that is what we will use to access the GUI for configuring the rest of the deployment (part 2 coming soon).