In the last SmartFabric blog I covered how to enable SmartFabric on your Dell OS10 switch and to declare the personality. Building out a new SmartFabric VxRail cluster from a greenfield install requires two Top of Rack switches with the Leaf personality. Once this task is done, simply rebooting the ToRs will give you access to the GUI where everything required to setup the new fabric is achieved. This could not be simpler.
Login to SmartFabric VxRail Master
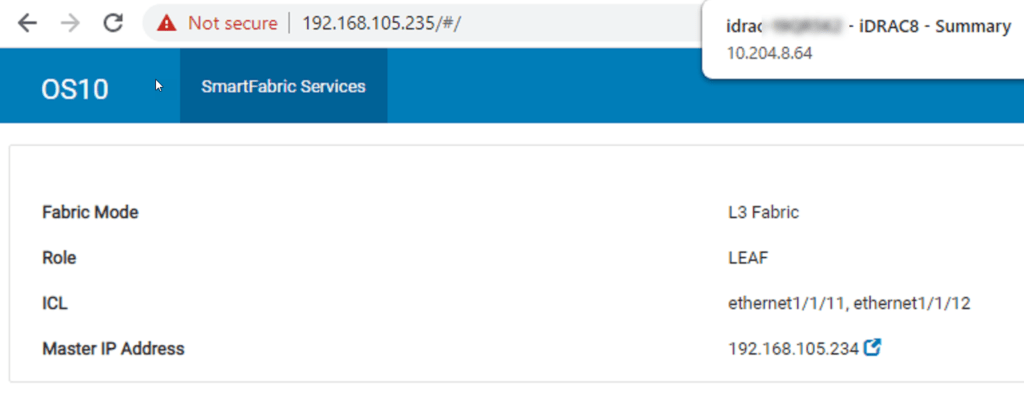
In the last step of the previous blog we setup the ICL ports between the Leafs and triggered an election by rebooting them. Now we need to logon to the Master switch of the new Leaf pair. If you hit the wrong one, you will be presented with the view below and know you are on the secondary. Just click the link on the ip address to reach the Master.
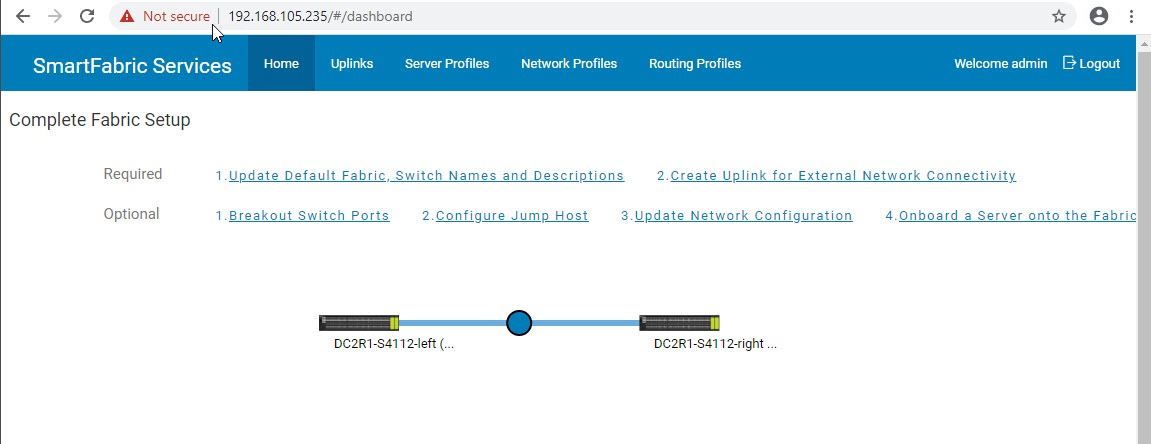
We can logon to the SmartFabric VxRail master by the default username/password of admin/admin. Here we are presented with the dashboard. There are two required steps to perform here.
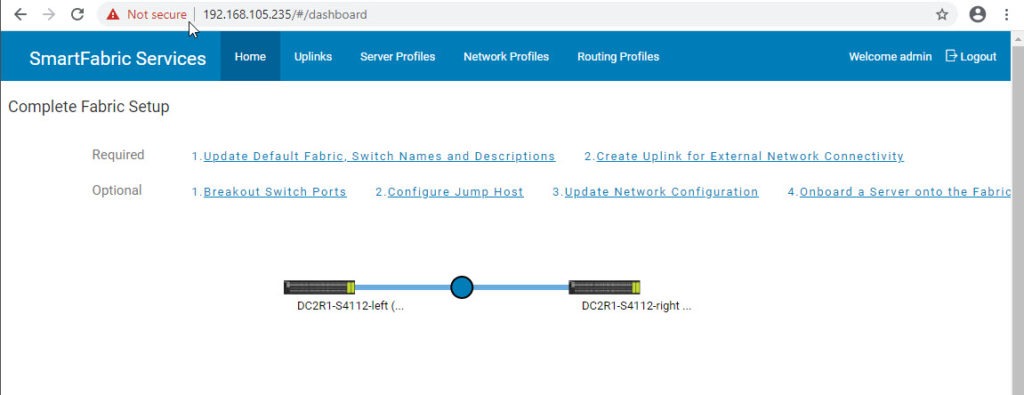
Complete Fabric Setup
We can already see that the two Leaf switches have begun the initial fabric creation. The new topology shows the ICL connections. The first required step before we deploy SmartFabric VxRail is to Update Default Fabric Switch Names and Descriptions.
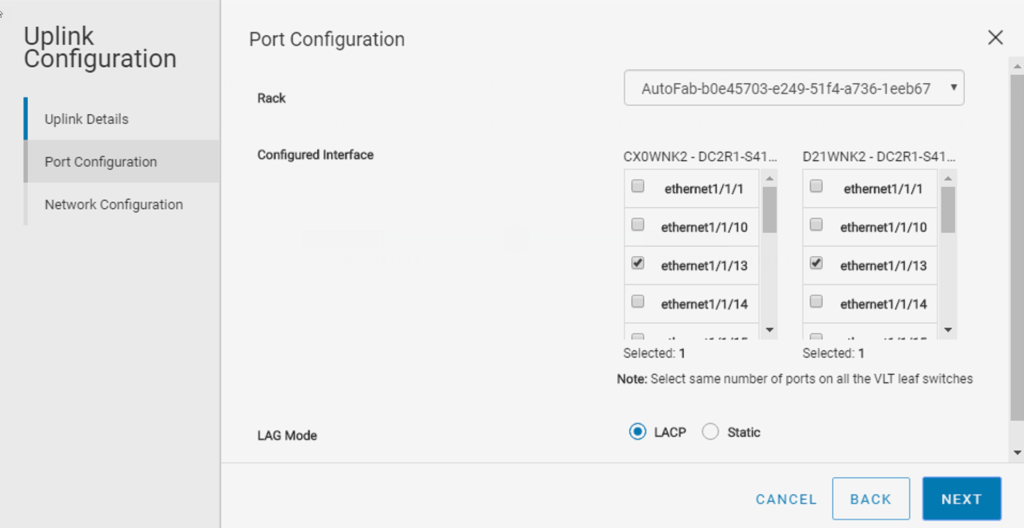
The second required step is to configure Uplinks. You have choice to setup Layer 2 or Layer 3 uplinks here. This can be changed later, but required for the VxRail deployment so you can reach DNS and NTP services normally. Add the Management network on the last step to reach these services outside of the VxRail rack.
Optional Settings
You are ready to deploy VxRail at this stage unless you require a few optional steps. You might need to make a few changes if your setup falls outside the default port speeds for example.
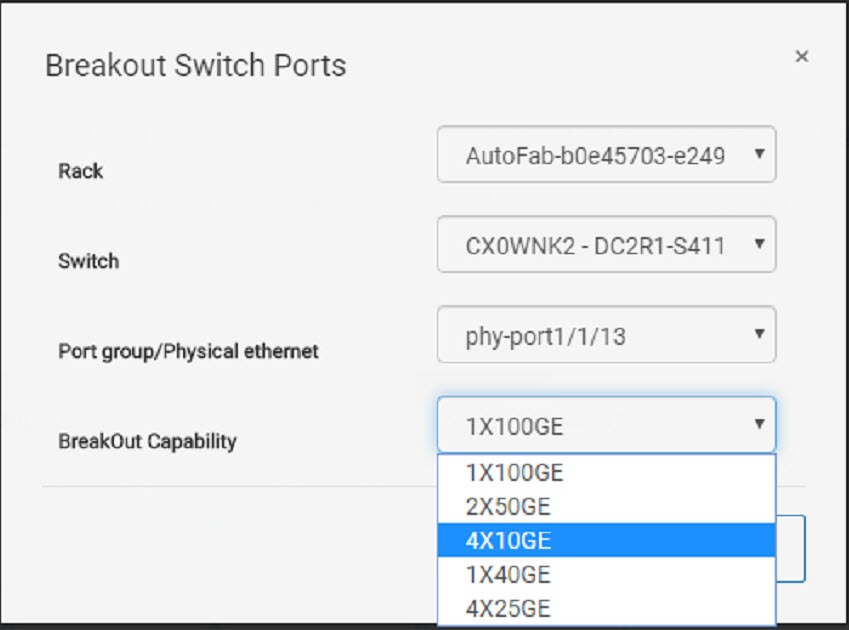
Configure Breakouts
You can change the uplinks speed from the default port speed (100GB). There are several options available depending on the switch you choose and the port you end up using. You might also need to adjust the Jump port speed if you plan to use a 1GB laptop nic in a 25GB switch.
Configure Jump Port
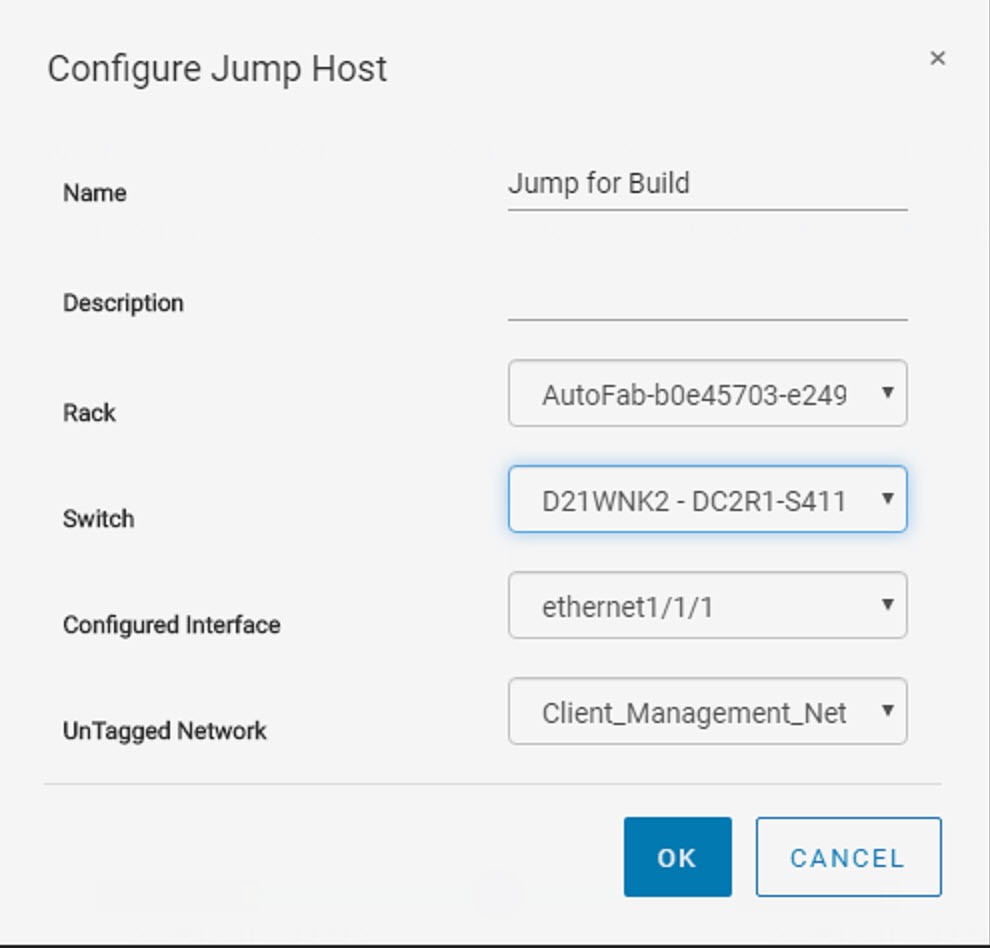
The jump port is used to deploy VxRail by using a laptop to reach the default client control vlan where VxRail Manager is setup initially. The Jump port can now be selected on any port. This is much better than the last version that always selected port 0 as the default jump port.
Deploy VxRail on SmartFabric
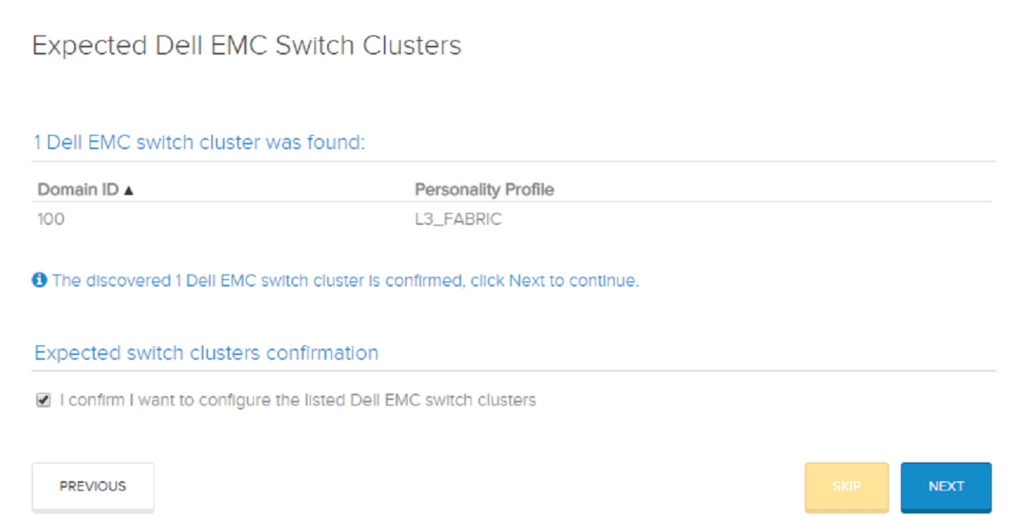
You can now deploy your first VxRail cluster into the SmartFabric enabled fabric. There will be one new step in the VxRail Manager deployment GUI. Once you confirm that you want to allow VxRail Manager to control the switch configuration, the rest of the setup is totally automated!
