Step 1: Enable SmartFabric Services on the ToR Switch
Step 2: Deploy VxRail Cluster incl. ToR with VxRail Manager
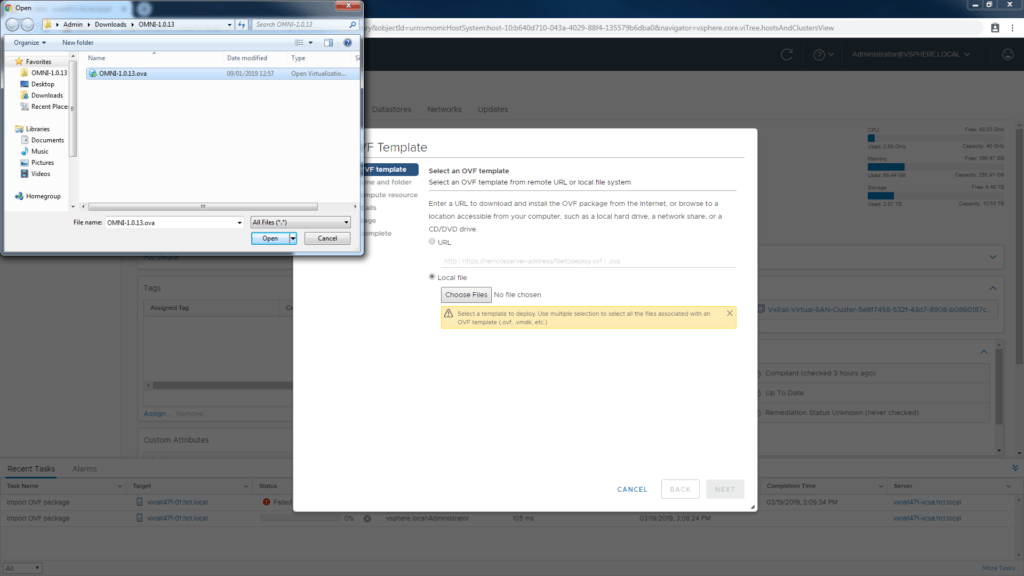
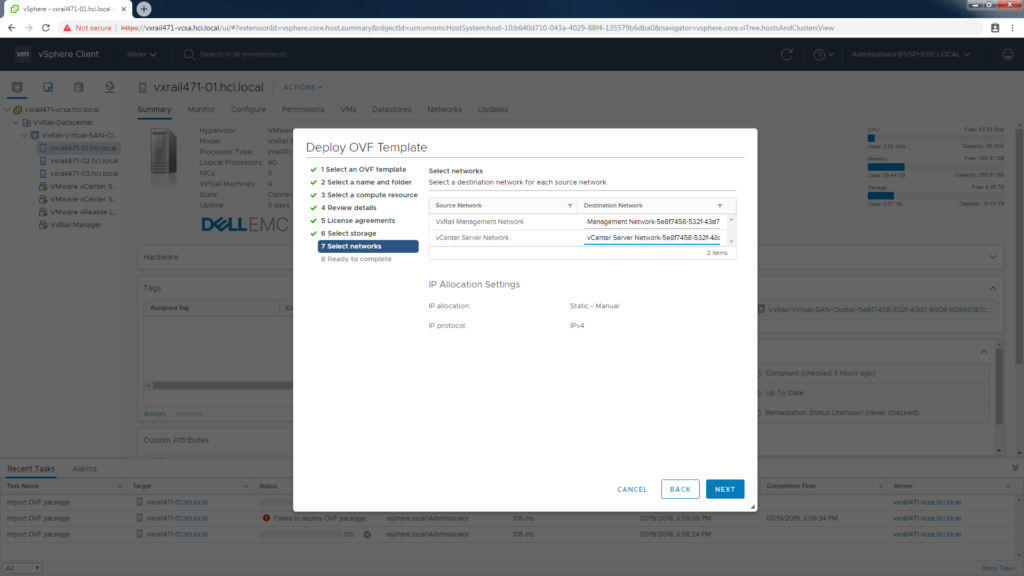
Step 3: Deploy the SmartFabric OMNI plugin in VMware vSphere
Step 4: Virtualization engineer controls Day 2 Ops for the Full Stack
Network Admins calm down and look here.
The network admins are not usually in favor of anything that replaces their day to day jobs. If you can show them the finished solution, you may be able to sway them in favour. Make sure to give them a demo of the OMNI plugin running inside vSphere using VxRail SmartFabric enabled switches.
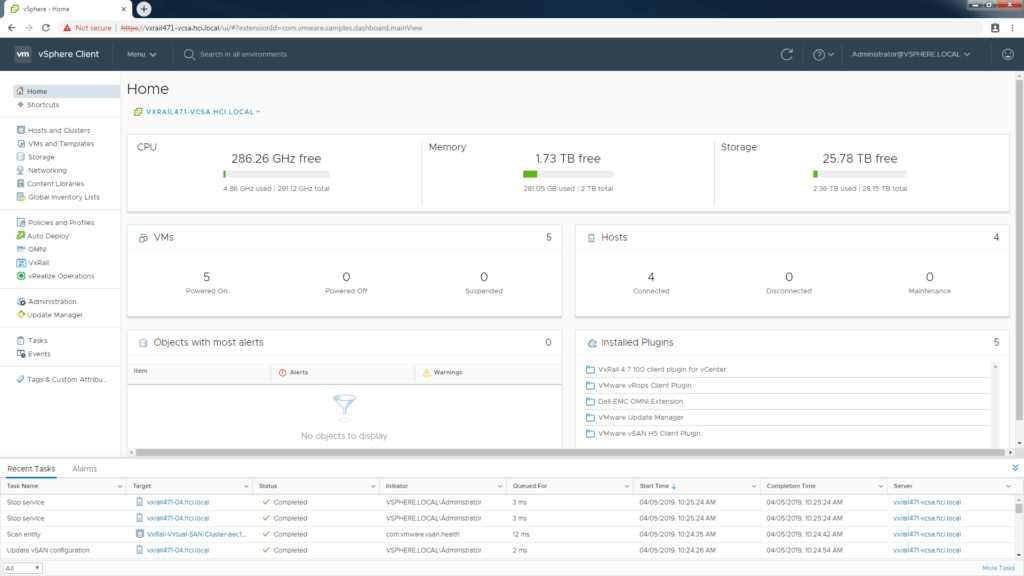
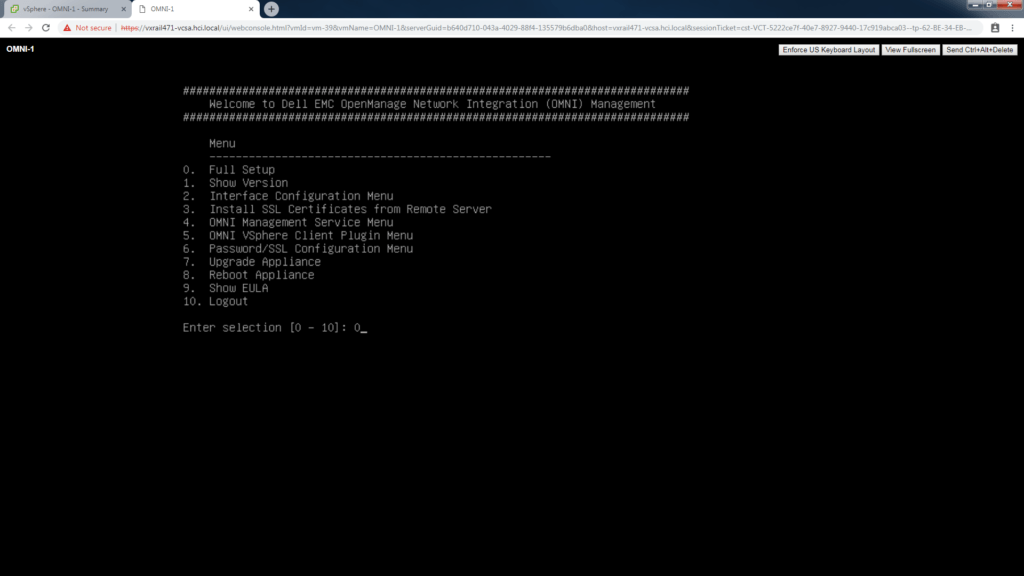
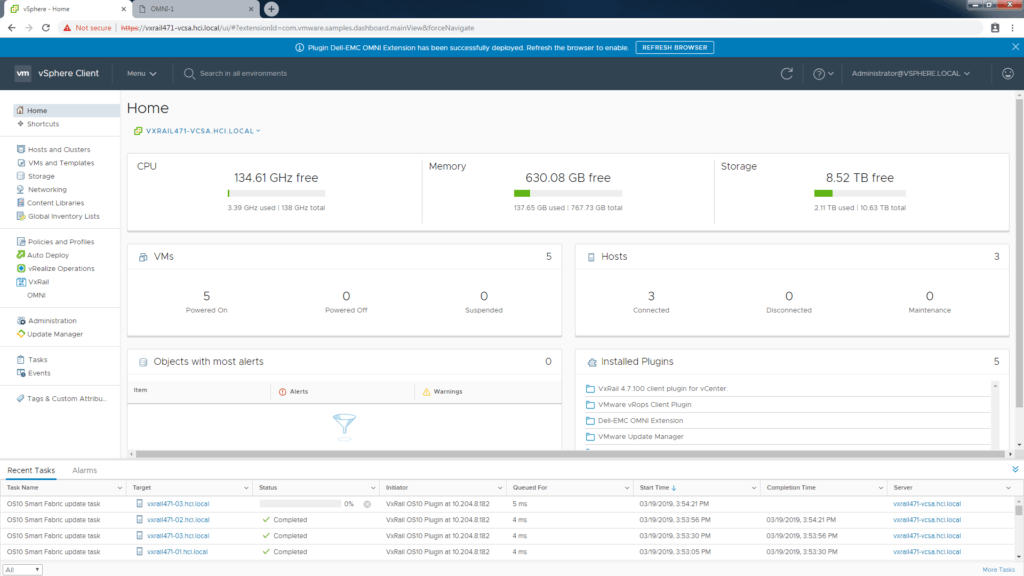
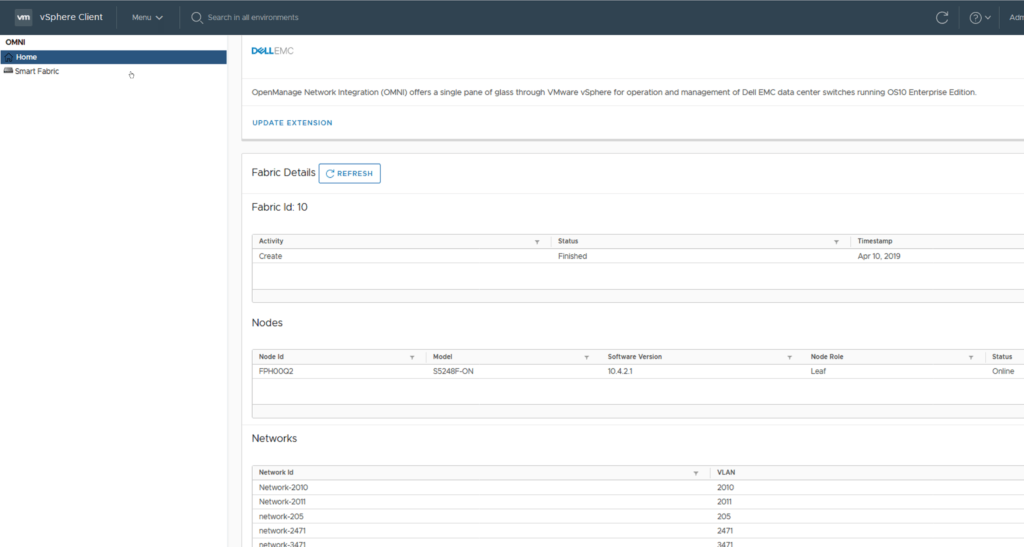
Click into the Omni dashboard.
The OMNI dashboard displays the current information on the VxRail SmartFabric enabled Switches. Here the Virtualization engineer has visibility to the OS10 version and the VLANS currently setup. That’s it? Not sure what NetAdmin Ned was expecting but there is no Network-Chaos-Now button!
Lets give Ned a use-case for SmartFabrics
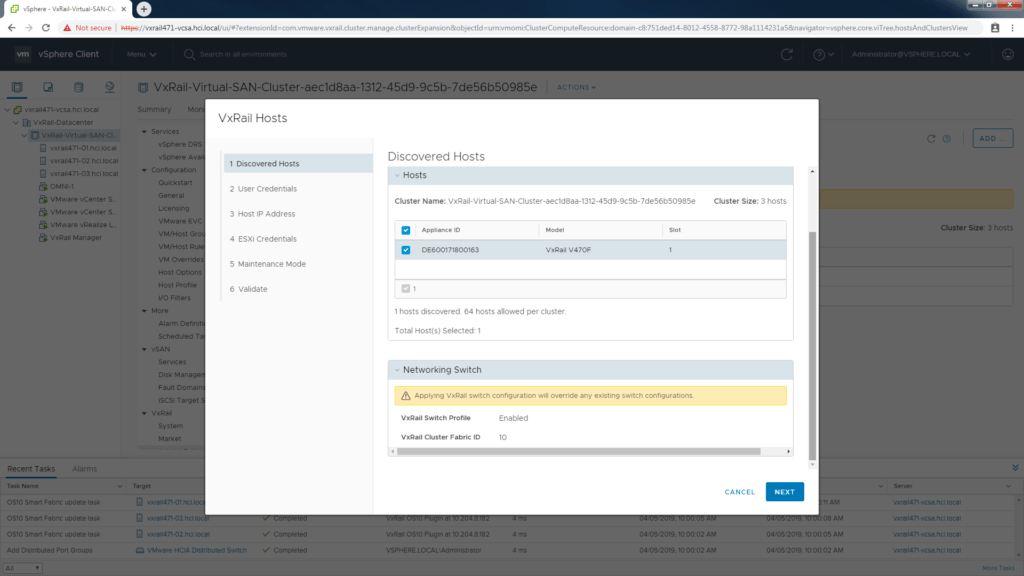
You can describe a scenario to Ned that is common. It’s time to add a new host to the existing cluster. Normally you would ask Ned to prepare the host network ports. He would label them add all the required VLANS and to make sure the settings match with the existing host ports.
With SmartFabrics no need to bother Ned
Adding hosts to HCI clusters are now done solely by the Virtualization Admin without any need to ask the NetAdmin to prepare host ports. It is all taken care of automatically by the VxRail SmartFabric services and the OMNI plugin.
Choose the discovered host.
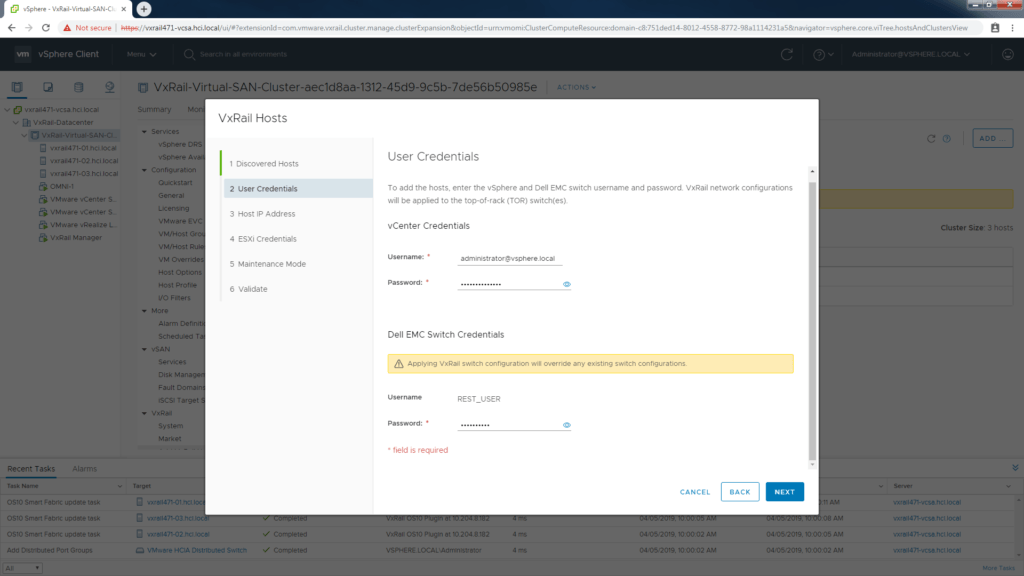
Enter vCenter credentials.
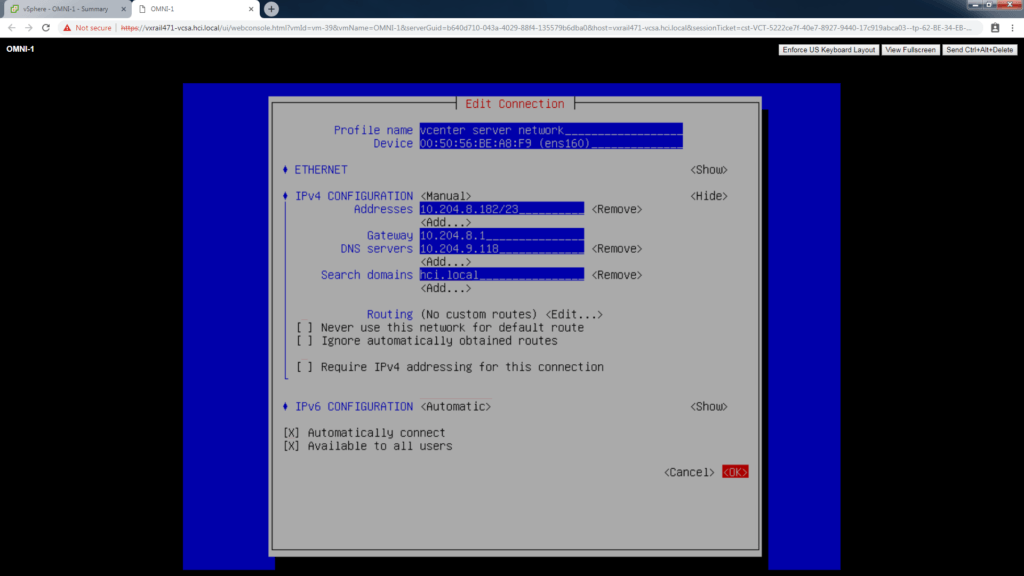
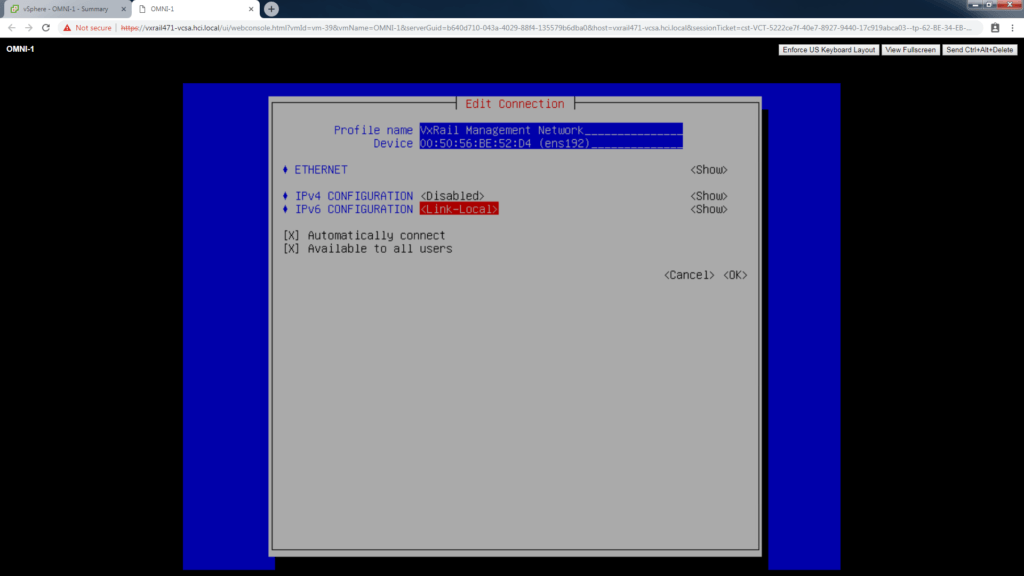
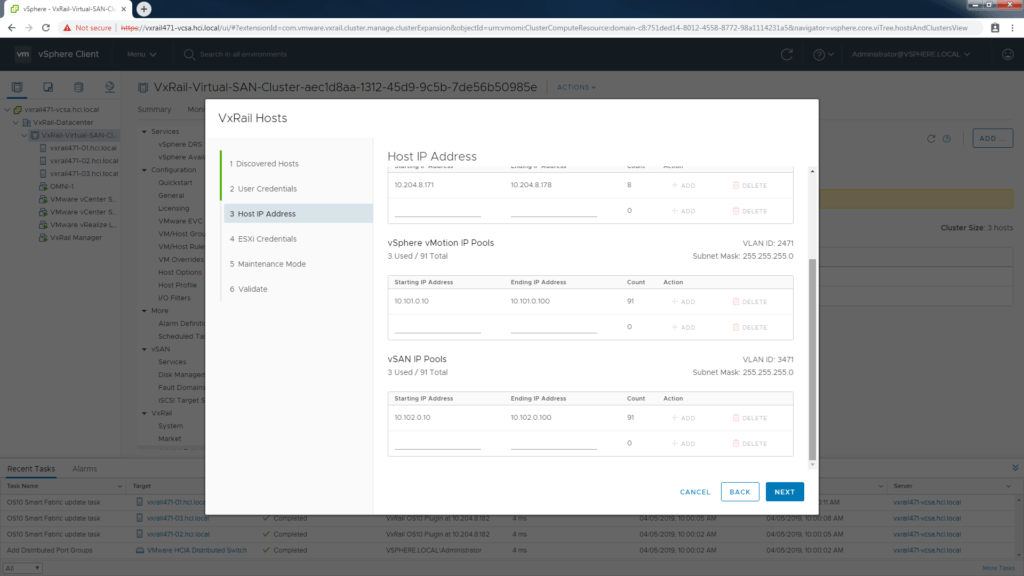
Add the Ip address information.
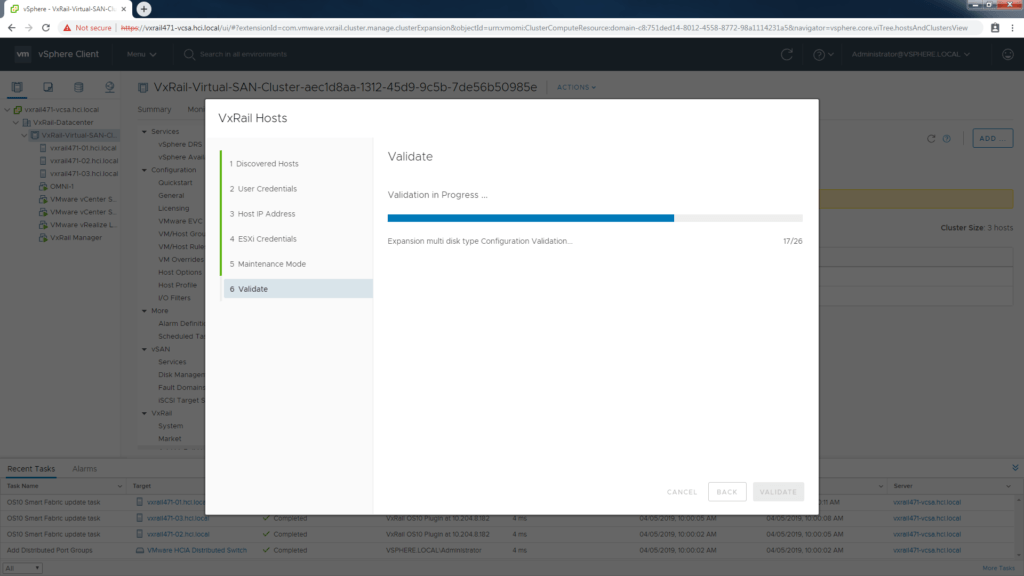
Run validation.
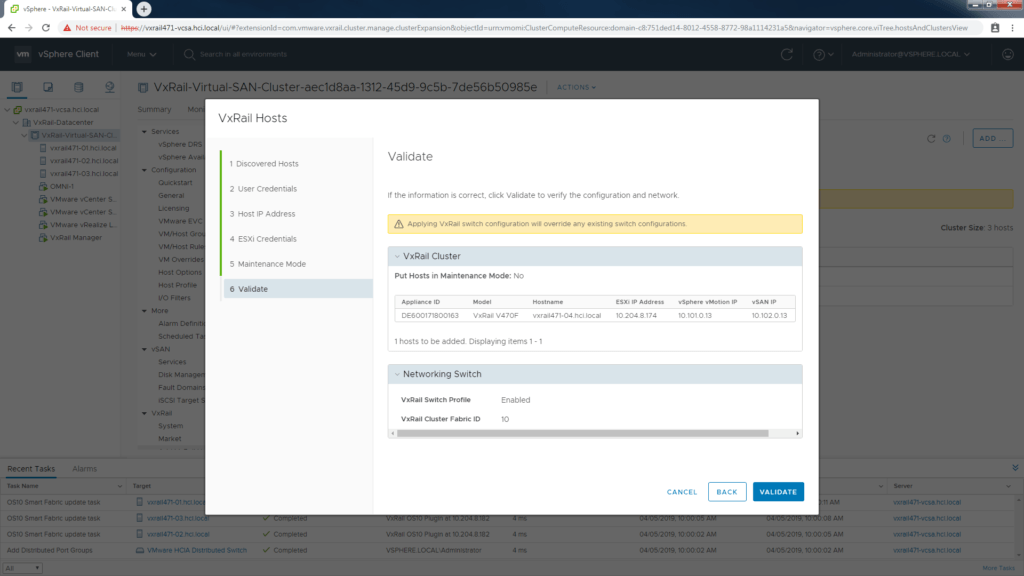
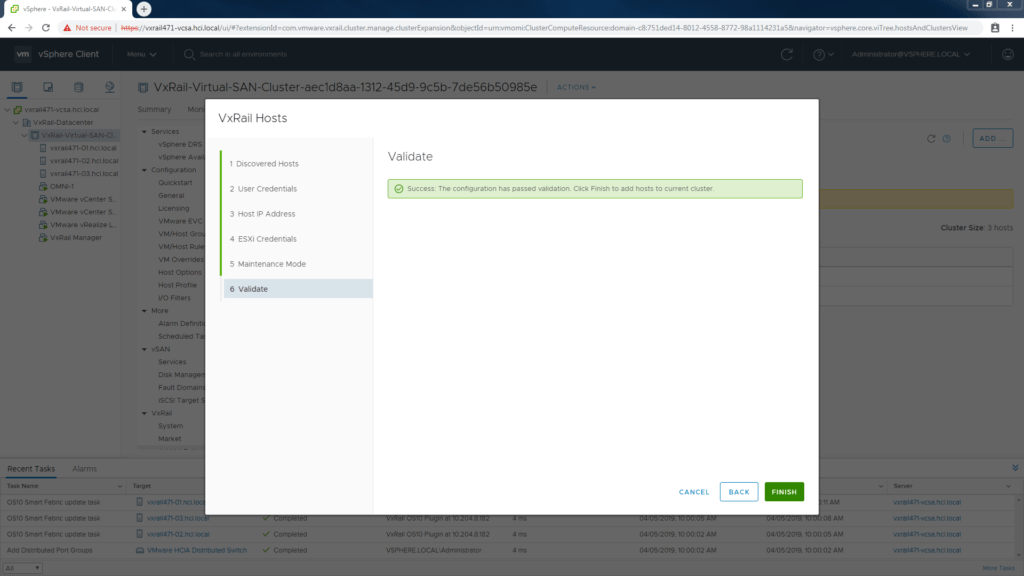
Validation must pass first.
Once passed, host is added automatically.
Watch quick Ned! Ports are configured.
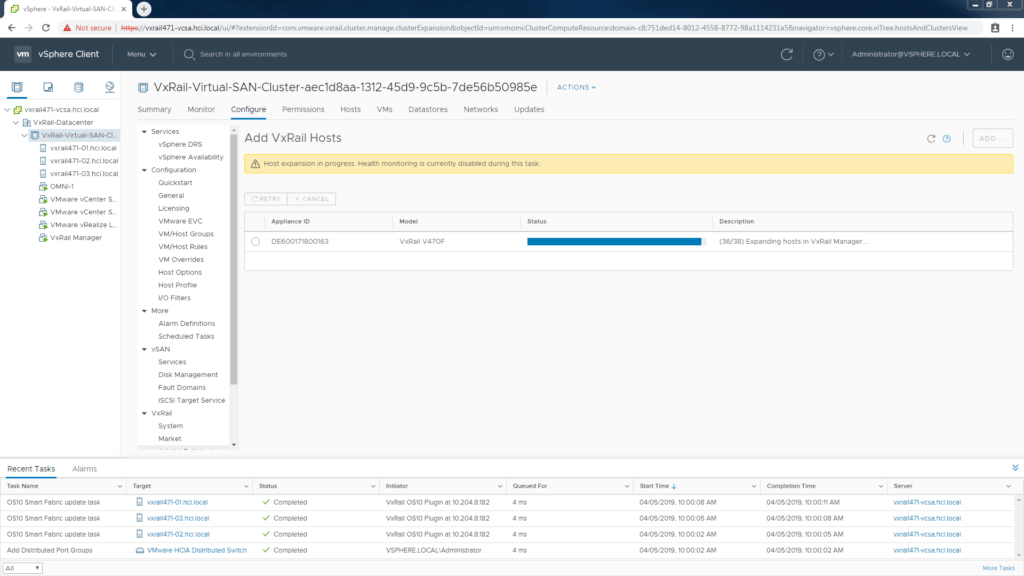
Hands free with VxRail SmartFabric services.